StrmrX blog
New Streamers: Set Up Free Overlays in 10 Minutes Flat
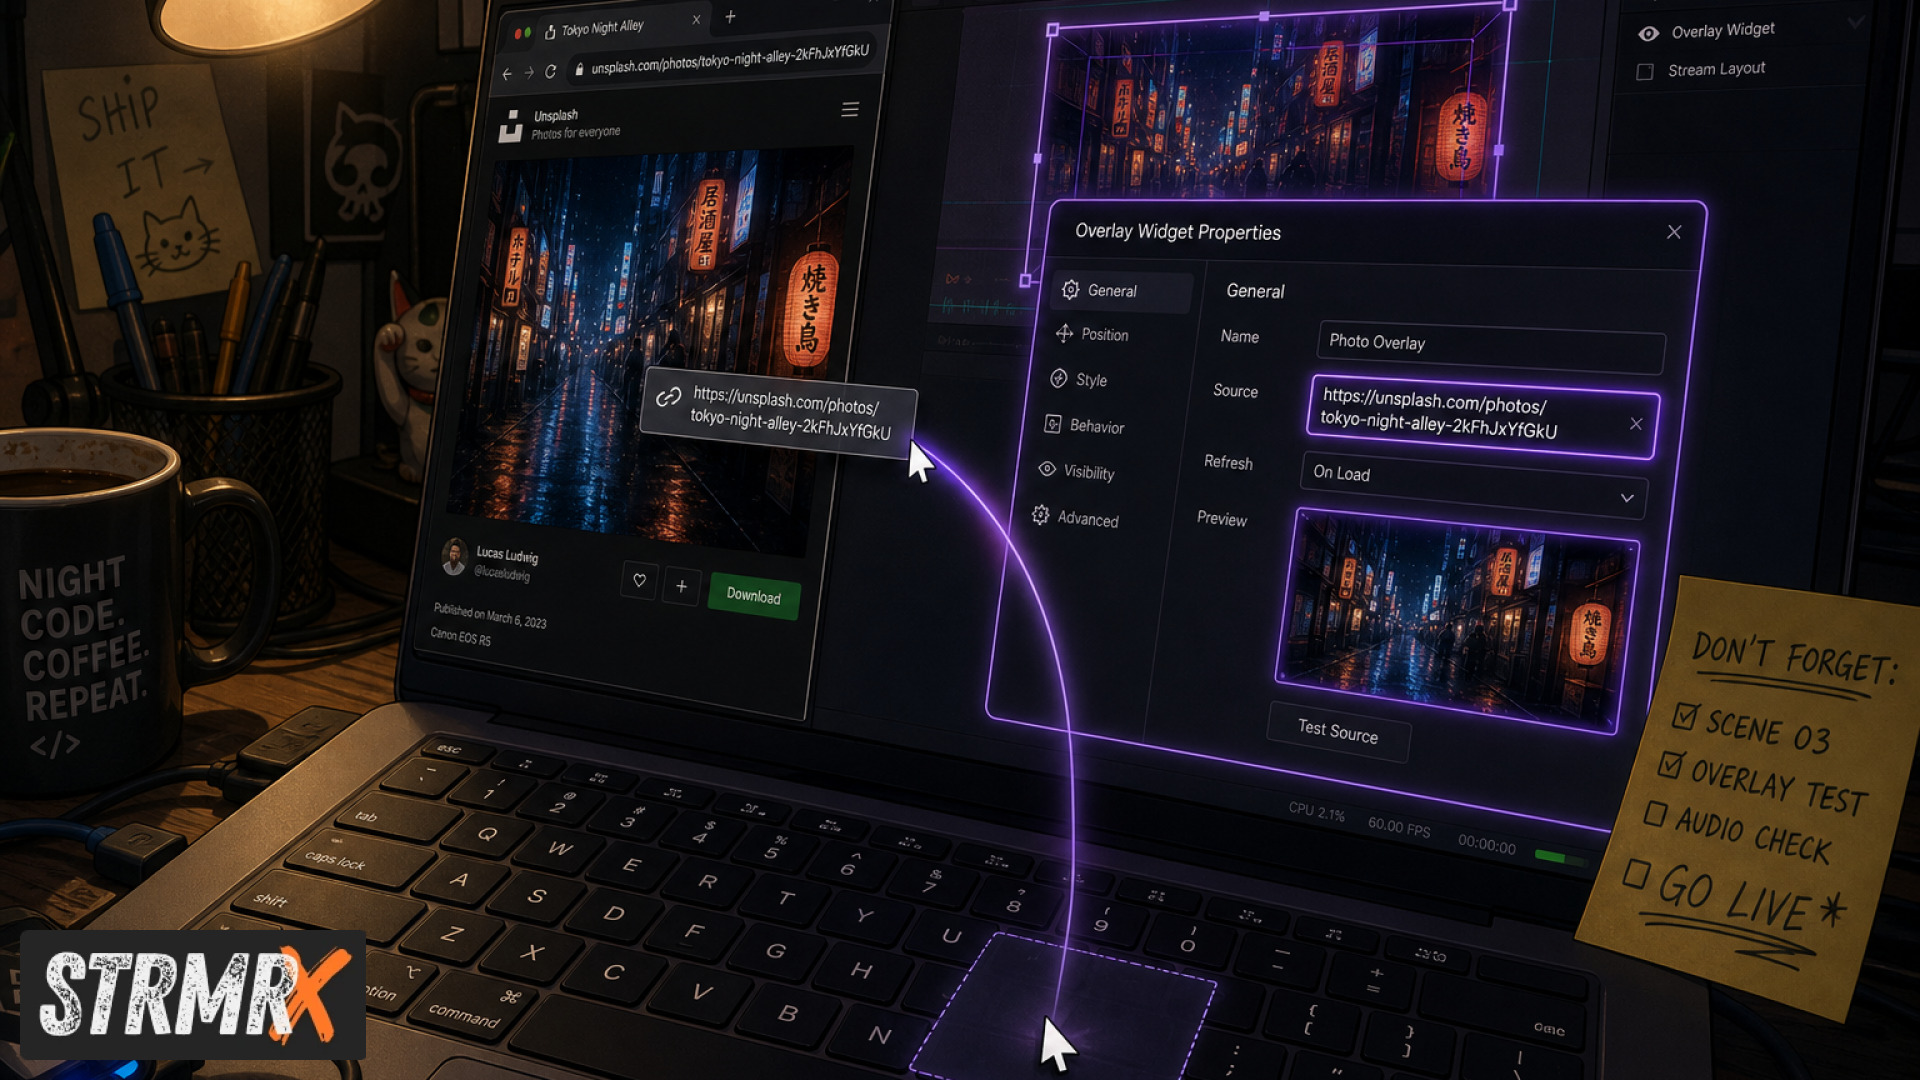
Setting up free overlays for your Twitch stream takes about 10 minutes when you use browser-based tools like StrmrX's StreamKit: no software to install, no rendering to wait on, just a browser source link dropped straight into OBS. If you're a brand-new streamer staring at an empty scene collection, this guide walks you through the exact steps, start to finish, so you're live with a working overlay before your coffee gets cold.
What Do Overlays Mean for a Twitch Stream?
An overlay is any graphic, widget or interactive element that sits on top of your gameplay or camera feed, things like alerts, chat games, pet companions or social panels. For new streamers, overlays are what turn a bare webcam window into something that feels like a produced show.
StrmrX builds seven of these as free browser-based apps: BingoX (chat-wide bingo), CollectX (a live collection grid), StreamPals (a chibi pet chat feeds and plays with), BotBuddyX (an AI chatbot overlay), PuzzleX (a real-time co-op puzzle), BuzzBarX (a rotating socials and hype-train card) and RaidX (a raid finder and click-to-raid tool). All seven sit on the free A tier today, so "overlays free" isn't a limited trial here, it's the actual starting point.
What You'll Need Before You Start
You need three things: OBS Studio or Streamlabs Desktop installed, a free StrmrX account, and about 10 minutes.
- OBS Studio (free, open source) or Streamlabs Desktop, both support browser sources natively
- A working Twitch channel, even an unpublished one, so overlays can connect to chat
- A StrmrX account, which is free and signs you into all seven apps with one shared credit wallet, so you never juggle separate logins per widget
If you're still setting up your channel itself, Twitch Creator Camp basics covers the account and branding fundamentals before you get to overlays.
Step 1: Create Your Free StrmrX Account
Sign up at strmrx.com with an email and password, it takes under a minute and unlocks all seven apps immediately.
Because StrmrX runs on one shared account and one shared credit wallet, you don't create separate profiles for BingoX, StreamPals or any other app in the family. That matters once you're running more than one overlay at a time, since most competitor tools split logins, currencies or dashboards per widget. Watch for: use the same email you'll want tied to VIP support later if you ever upgrade, since account history carries over.
Step 2: Pick Your First Overlay
Choose one overlay to launch with rather than all seven at once, most new streamers start with either BuzzBarX (socials and commands) or StreamPals (a pet viewers feed and play with).
BuzzBarX is the safer first pick if your priority is looking professional fast: it rotates your socials, commands and house rules on-screen automatically and swells when a raid, follow or hype train hits. StreamPals is the better pick if community interaction is your goal, since chat feeds and waters the pet together. What to watch for: pick based on what your first hour of stream actually needs, you can always add PuzzleX, BingoX or CollectX later from the same dashboard.
Step 3: Add the Overlay as a Browser Source in OBS
Copy the unique browser source URL StrmrX generates for your chosen app, then in OBS click the plus icon under Sources, choose Browser, and paste the link in.
This is the entire "overlays OBS" workflow for StrmrX apps: no file downloads, no plugin installs, nothing to update manually. Set the source dimensions to match your canvas (1920x1080 is standard) and tick "Shutdown source when not visible" left unchecked so live data like chat counts and pet stats keep updating between scenes. If you use Streamlabs Desktop instead, the same browser source method applies, just add it from the Sources panel there. Full technical detail on browser sources lives in the OBS Studio official documentation.
Step 4: Position and Resize Your Overlay
Drag the overlay's corner handles in OBS to resize it, then drag the body to position it where it won't block your face cam or gameplay HUD.
Most streamers put BuzzBarX along a bottom third and StreamPals in a bottom corner, small enough to stay charming without eating screen real estate. Lock the source once positioned (right-click, Lock) so you don't nudge it mid-stream. Watch for aspect ratio stretching, if the overlay looks warped, uncheck "Stretch" under transform and resize proportionally instead.
Step 5: Test It Live With Chat
Go live briefly to your own channel or a private test stream and have a friend chat a command relevant to your overlay, like !join for BingoX, to confirm it responds in real time.
This is the step people skip and regret. An overlay that looks fine sitting static in OBS can still be misconfigured for chat commands, so a two-minute live test catches that before your actual audience shows up. If something doesn't trigger, double-check the browser source URL is the live one from your StrmrX dashboard, not a cached preview link.
Where to Learn More About Streaming Setup
New streamers benefit from more than just overlay setup, and Twitch itself has structured resources worth working through. Twitch's official creator education hub covers going live, branding and audience growth in more depth than any single overlay guide can.
Pairing that education with a lightweight overlay stack, rather than one heavy all-in-one dashboard, is deliberate on StrmrX's side. As a two-person independent studio built by streamers for streamers, StrmrX keeps each app small and fast rather than bundling everything into one bloated control panel the way some larger competitors do.
Conclusion: Your First Overlay Is Ready
You now have a working browser-based overlay live in OBS, connected to chat, positioned on your canvas, and tested end to end, all without installing anything or paying a cent. That's the whole point of free overlays built for new streamers: low friction, fast setup, more time actually streaming.
When you're ready to add a second overlay, chatbot, or the full seven-app StreamKit, everything's already unlocked under the same StrmrX account. Head to strmrx.com or reach the team at vibe@strmrx.com to keep building your setup.
Frequently Asked Questions
Why should I uncheck "Shutdown source when not visible" in OBS for StrmrX overlays?
Leaving that box unchecked keeps live data, like chat counts, pet stats, or hype train progress, updating in the background even when you switch scenes. If you let OBS shut the source down when it's off-screen, the overlay has to reload from scratch every time you cut back to it, which can cause a delay or a blank flash. For overlays like StreamPals or BuzzBarX that depend on continuous chat activity, keeping it active in the background is what makes them feel seamless.
Should I start with BuzzBarX or StreamPals as my first overlay?
Pick BuzzBarX if you want your stream to look polished fast, it automatically rotates your socials, commands, and house rules, and reacts visibly to raids or follows. Pick StreamPals if your priority is chat interaction, since it's a pet viewers actively feed and play with together. Either way, you're not locked in, both apps live under the same StrmrX dashboard, so adding the other one later takes minutes, not a new setup.
How is StrmrX's shared credit wallet different from how other overlay tools handle logins?
Most competitor overlay tools require a separate login, currency, or dashboard for each individual widget, so running three overlays means managing three accounts. StrmrX signs you into all seven apps, BingoX, CollectX, StreamPals, BotBuddyX, PuzzleX, BuzzBarX, and RaidX, with one account and one shared credit wallet. That matters most once you're running more than one overlay simultaneously and don't want to juggle logins mid-stream.
Do I need a live, published Twitch channel before setting up StrmrX overlays?
No, the post specifically notes an unpublished channel works fine, the overlay just needs a channel to connect to for chat functionality. You can build and test your full overlay setup privately before you ever announce yourself as live. That makes it realistic to have BuzzBarX or StreamPals fully configured and tested before your actual debut stream.
What do I do if my overlay isn't responding to chat commands during testing?
First, double check that the browser source URL pasted into OBS is the live link pulled directly from your StrmrX dashboard, not a cached or preview version, since that's the most common cause of a command like !join going nowhere. This is exactly why Step 5's live test with a friend matters: a static-looking overlay in OBS can still be misconfigured for chat, and that only shows up once real chat commands hit it. If the URL checks out and it still won't trigger, regenerating the browser source link from your dashboard is the next step.